Image Hosting Solutions

3617a3c4551b715d13dbbe8455340067.webp

Background

For my personal blog, I initially used Cloudflare R2’s free tier for image hosting. However, concerns over storage limits and unexpected charges led me to self-host MinIO, a lightweight, S3-compatible object storage solution that provides full control over my data.

Introduction to MinIO as an Image Hosting Solutions

MinIO allows easy file uploads and URL-based access, making it ideal for hosting images, videos, and other files. By running MinIO in a Docker container, I can efficiently manage storage while avoiding third-party service restrictions.

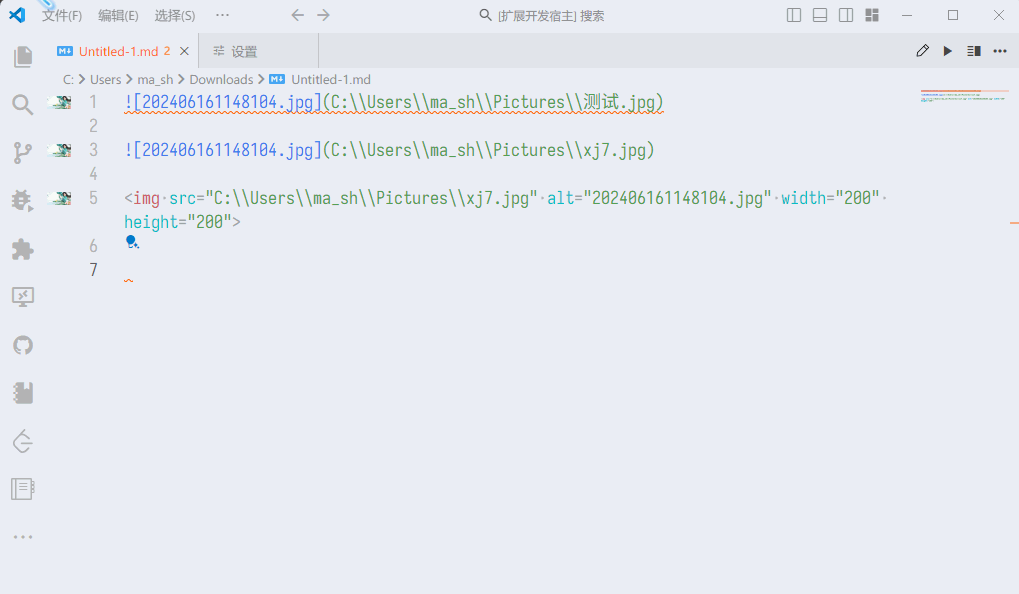
  • Upload images to MinIO and construct the correct URL to display them on a webpage.
  • Store videos and play them directly in supported browsers.
  • Host audio files or use MinIO as a personal file-sharing system.

Files are accessible via the following format:

1
https://example.com/bucket_name/file.name

Image Hosting Solutions for Blogging

As blogging on Hexo are using markdown format here is my workflows.

Prerequisite

  • MinIO serving as the image storage
  • PicGo serving as image upload tools
  • VSCode serving as markdown editor
  • vs-piclist automate image upload from markdown

⚒️ Workflows

While drafting writing blog in VSCode, all image will be stored locally first. Once the blog page was finalized, I will upload all images in blog page to MinIO through PicGO localhost upload server automated by vs-piclist

Deploy MinIO in a Docker Container

MinIO Container Docker Compose Structure

1
2
3
4
5
6
7
8
|__ .env
|__ docker-compose.yml # Master docker compose file
|__ appdata/
|__ minio/
|__ data/ # Storage location to store
|__ minio.conf # MinIO Config file
|__ compose/
|__ minio.yml

.env

1
2
3
4
5
# DOCKER PATH
DOCKERDIR="/opt/docker"

# DNS
DOMAINNAME=example.com

minio.conf

1
2
3
4
5
6
7
8
9
10
11
12
13
14
# MINIO_ROOT_USER and MINIO_ROOT_PASSWORD sets the root account for the MinIO server.
# This user has unrestricted permissions to perform S3 and administrative API operations on any resource in the deployment.
# Omit to use the default values 'minioadmin:minioadmin'.
# MinIO recommends setting non-default values as a best practice, regardless of environment

MINIO_ROOT_USER=<replace to user>
MINIO_ROOT_PASSWORD=<replace to password>

# MINIO_VOLUMES sets the storage volume or path to use for the MinIO server.

MINIO_VOLUMES="/mnt/data"

# MINIO_SERVER_URL sets the hostname of the local machine for use with the MinIO Server
# MinIO assumes your network control plane can correctly resolve this hostname to the local machine

minio.yml

1
2
3
4
5
6
7
8
9
10
11
12
13
14
15
16
17
18
19
20
21
22
23
24
25
26
27
28
29
30
31
32
33
34
services:
# Minio - s3 compatible solutions
minio:
image: minio/minio
container_name: minio
security_opt:
- no-new-privileges:true
restart: unless-stopped
networks:
- t3_proxy
volumes:
- $DOCKERDIR/minio/data:/mnt/data
- $DOCKERDIR/minio/minio.conf:/etc/config.env:ro
environment:
- "MINIO_CONFIG_ENV_FILE=/etc/config.env"
- "DOCKER_HOST=tcp://socket-proxy:2375"
command: server --console-address ":9001" --address ":9000" /data
labels:
- "traefik.enable=true"
## Minio Console HTTP Routers
- "traefik.http.routers.minio-rtr.entrypoints=websecure"
- "traefik.http.routers.minio-rtr.rule=Host(`minio-console.$DOMAINNAME`)"
## Minio API HTTP Routers
- "traefik.http.routers.minio-api-rtr.entrypoints=websecure"
- "traefik.http.routers.minio-api-rtr.rule=Host(`bucket.$DOMAINNAME`)"
## Middlewares
- "traefik.http.routers.minio-rtr.middlewares=chain-no-auth@file"
- "traefik.http.routers.minio-api-rtr.middlewares=chain-no-auth@file"
## Minio Console HTTP Services
- "traefik.http.routers.minio-rtr.service=minio-svc"
- "traefik.http.services.minio-svc.loadbalancer.server.port=9001"
## Minio API HTTP Services
- "traefik.http.routers.minio-api-rtr.service=minio-api-svc"
- "traefik.http.services.minio-api-svc.loadbalancer.server.port=9000"

docker-compose.yml

1
2
3
4
5
6
7
8
9
10
11
12
13
14
15
16
17
18
19
20
21
22
networks:
t3_proxy:
name: t3_proxy
driver: bridge
ipam:
config:
- subnet: 10.0.0.0/24
default:
driver: bridge
socket_proxy:
name: socket_proxy
driver: bridge
ipam:
config:
- subnet: 10.0.10.0/24

include:
# CORE
- compose/traefik.yml # Serve as Reverse Proxy
- compose/socket-proxy.yml # Protect Docker Socket Proxy
# FILE HOSTING
- compose/minio.yml

Start the service.

1
2
sudo docker compose -f <docker-compose-xxx>.yml up -d
sudo docker logs minio

Create Bucket

  1. Access to minio-console.example.com with the credentials being defined in minio.conf

    43ca30aaf9ce7e2148dfa4b88845cf0a.webp

  2. Access to the Buckets module and Create Buckets with any name

    d548e15a3902501be6c958e6b82c20f0.webp

  3. After created bucket, content of the bucket should be unable to read, therefore now we should configure correct permission by go to Anonymous > Add Access Rule

    f8ed2637ab1a4528d1007878e08538fb.webp

  4. As this image bucket is to serve publicly, we can set the access permission to public-readonly

    682a2361ba5961f0efc9f40ed38cff2f.webp

  5. Go back to the bucket summary, now the Access Policy will shows as custom which means we had configured correctly.

    0560aa0fdede9e1a3f67ab495740b7dd.webp

Configure access-token

  1. Access to the Access Keys module and Create access key

    18c684e6db1202f2176afa18a75f876a.webp

  2. Before proceed to Create, save the Access Key and Secret Key to secret place, we will use it when setting up PicGo

    cb8d656bf139abe529f876c7b68d7faa.webp

PicGo

https://github.com/Molunerfinn/PicGo

  1. Download and install on the workstation.

    cb6f75803751204a6e3abbe07b1e32d4.webp

  2. Go to plugins and download below list

    3f1ee9c023c640e8fd79e59413ecb0b0.webp

    • s3 - Core component to allow PicGo setup connection to MinIO
    • webp - Uploaded image convert to webp format for better sizing
    • compression - Lossless compress uploaded image
    • remove-exif - Remove metadata of the image
    • rename-file - Rename the image filename for better recognition.
  3. Go to PicBed settings > Amazon S3 > Add

    c0642e6aca5897774d51b317696adb8b.webp

    Custom endpoint should be MinIO API instead of MinIO Console

    bd8178b8a14f4f52cddacf8733731797.webp

  4. (Optional) Enable PicGo-Server localhost to host the automate image upload from vs-piclist

    5a71aa30d95db01b6a50e7bb9e8d08d7.webp

Happy Blogging✌️